Assembly
Assembly Instructions
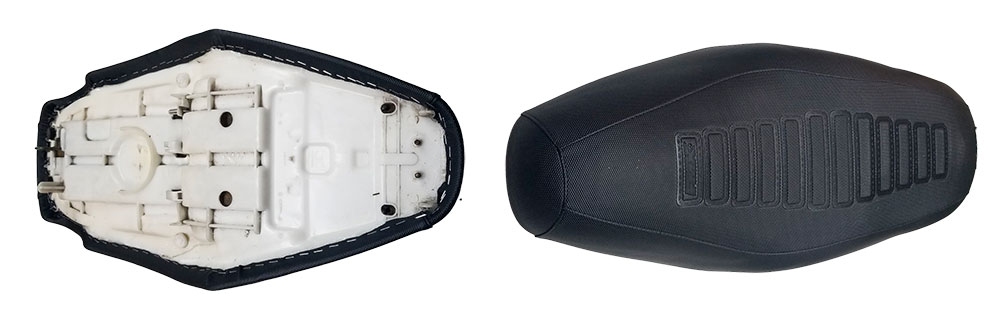
Dear customer, this instruction manual was developed to facilitate the installation of your new replacement upholstery. The replacement process is similar for all types of seats. While the images are illustrative, the fastening system is always the same. We recommend that you read the instructions in full and watch the video. The company declines all responsibility for incorrectly installed upholstery.
Useful Information
The new upholstery has been made with high-quality materials that are highly resistant to atmospheric agents. However, we do not recommend leaving the motorcycle in the sun for long periods and suggest covering the seat while washing the bike, as this will protect the material and its colors. Made with materials suitable for outdoor use, however, proper care of the seat will allow you to keep it looking new with vibrant colors.
For cleaning, it is recommended to use water and neutral soap, ensuring to dry the seat immediately after each wash.
The assembly can take between 15 and 20 minutes; we recommend that you contact qualified individuals.
Warnings
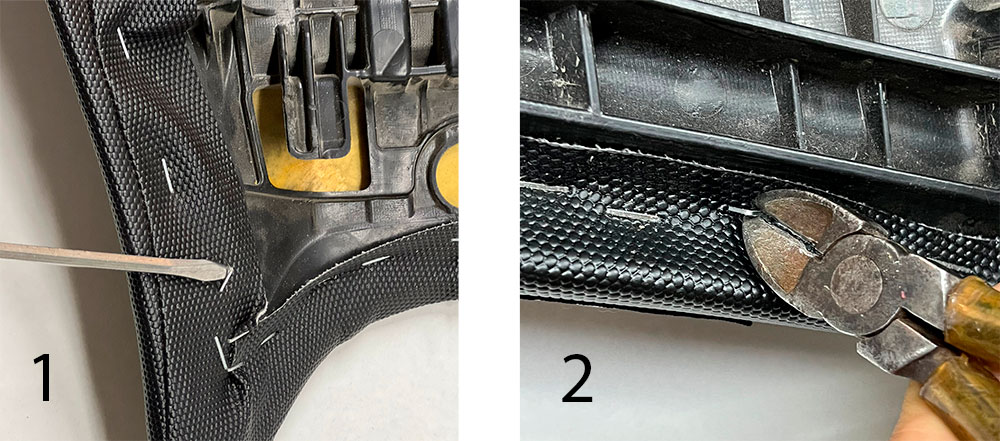
Before starting the assembly work, we suggest taking the necessary precautions. Use gloves and protective goggles to remove the staples and be very careful when applying them with the gun.
The company declines all responsibility for accidents caused during product installation.
To begin assembly, obtain:
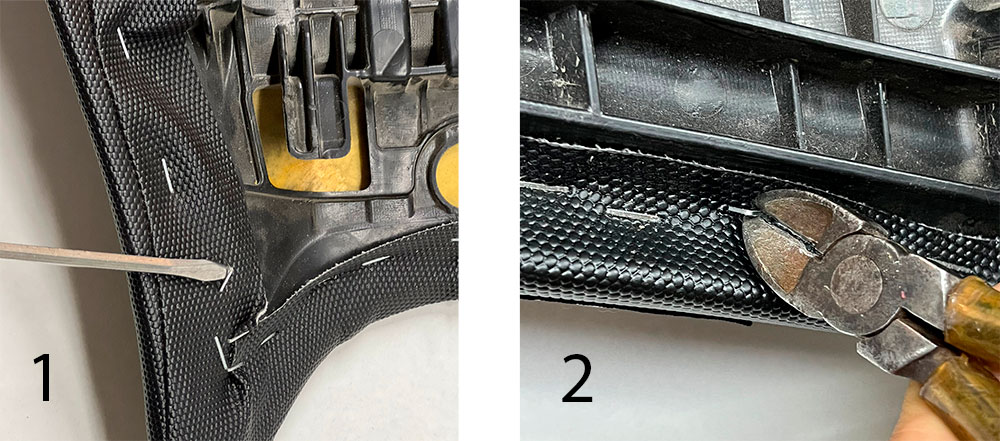
A screwdriver
Needle-nose pliers
A manual stapler or
An electric stapler or
A pneumatic stapler
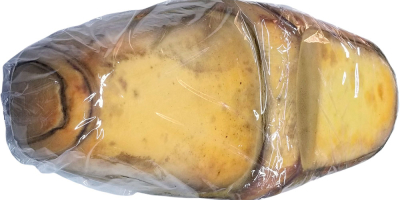
Protective film (recommended)
During the assembly phase, you may encounter difficulties, lose a lot of time, and have a disappointing result. It is advisable to follow the instructions step by step and not to rush the work.
After removing all the clips, you must remove your old upholstery. (Optional) It is recommended to place a film between the seat foam and the new protective cover to facilitate the insertion of the new cover and create a waterproof barrier between the sponge and the cover.
While adhering to the front of the seat (1), slide the cover over the seat with your hands, paying close attention to ensure the front adheres well to the corners. Guide your new upholstery towards the back (2) and the sides (3). When your new upholstery is well-centered, you can proceed to secure it.
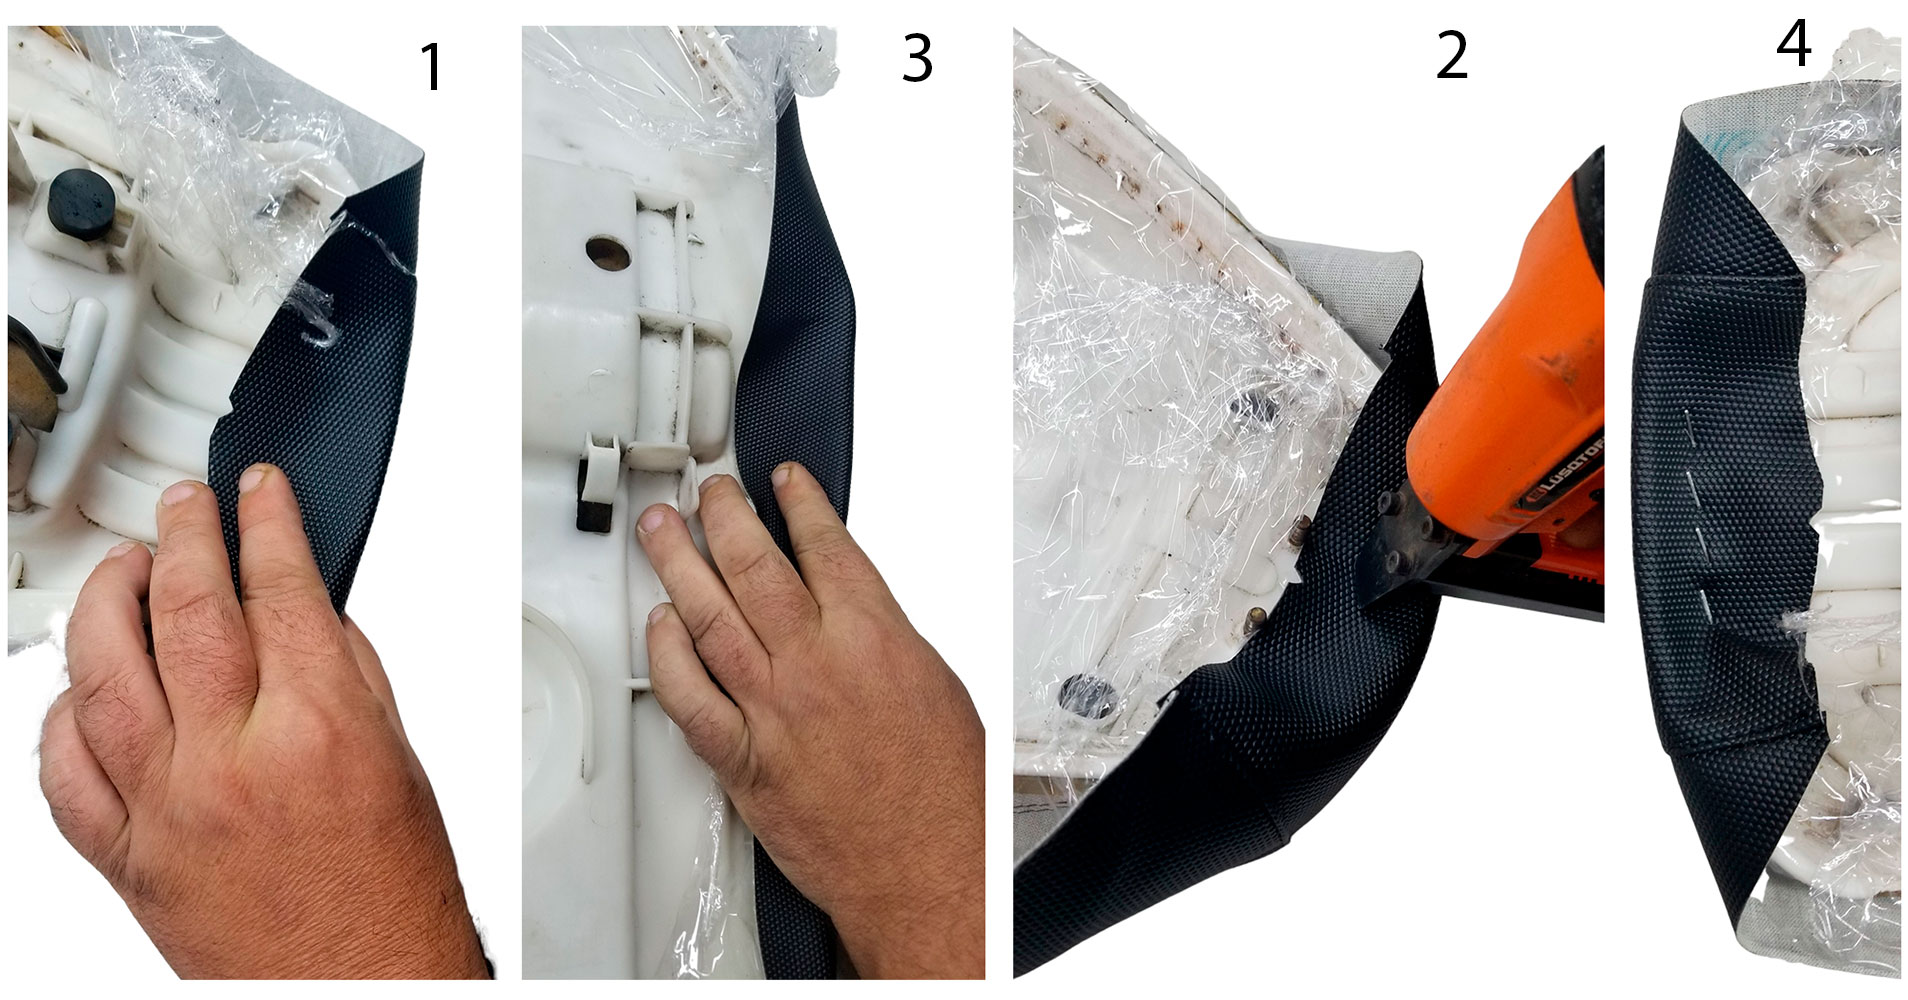
First, pull the cover towards the bottom of the seat and staple
the back part with the staple gun, securing it with 3/4 staples.
Then proceed with the front part, always pulling tightly and using 3/4 staples. (5)
Finally, proceed with the two sides using 3/4 staples per side, pulling outwards, trying to keep the center aligned with the seat. At this point, the seat should be secured. Now it’s necessary to check if it’s perfectly centered and that there are no folds or loose parts. If it’s necessary to pull the cover more, remove the clips that secure the side you’re working on, reposition the cover properly, and then reattach it.